Add documents to a New Category
Go to Manage> Content and click on the 'Add content' button. Then select the 'Meetings and Documents' type of content.
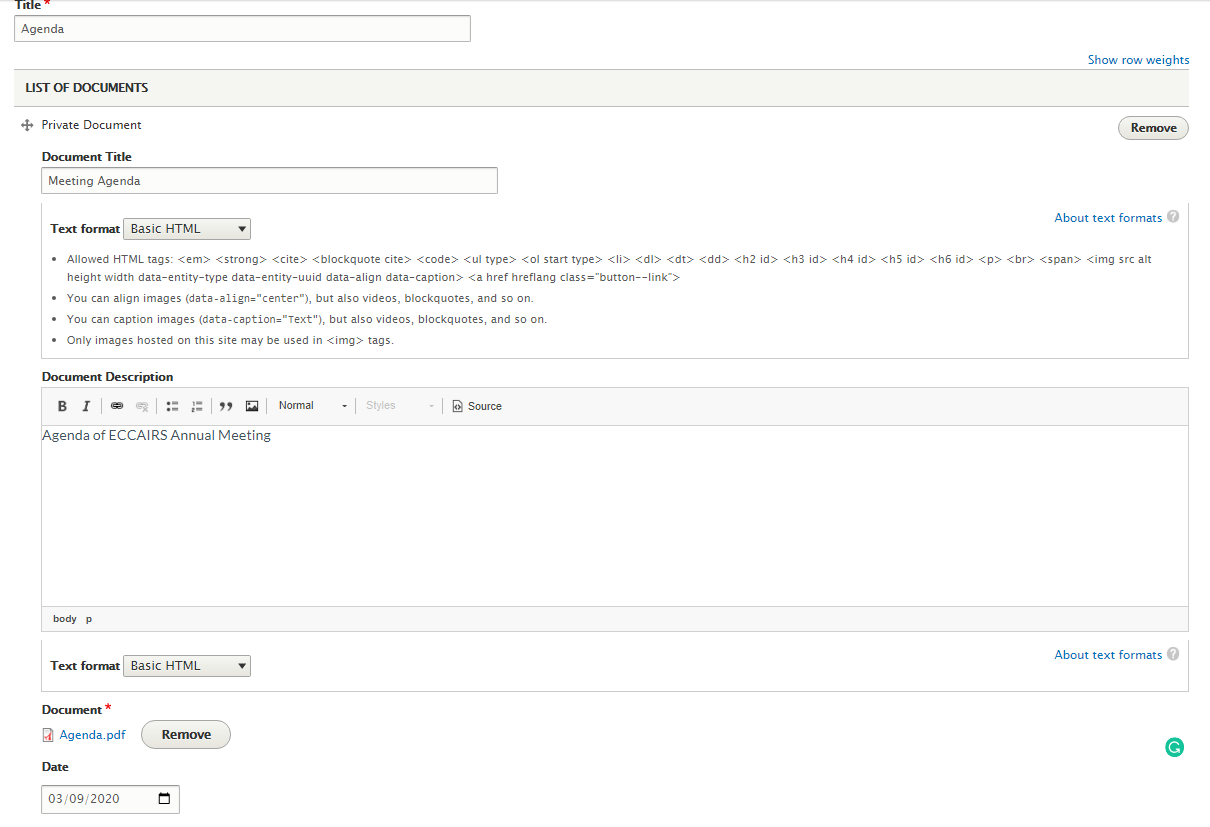
Fill the information:
- Title: The name or category of the meeting
- List of Documents: Upload one or more documents
- Title
- Description
- Document: upload the desired document
- Date: By default the current date is selected but the administrator can select another date.
- Version
- Category: Select the 'Category' previously created. (Content types> Meetings and Documents> Categories)
- Access: Add permissions to the page.
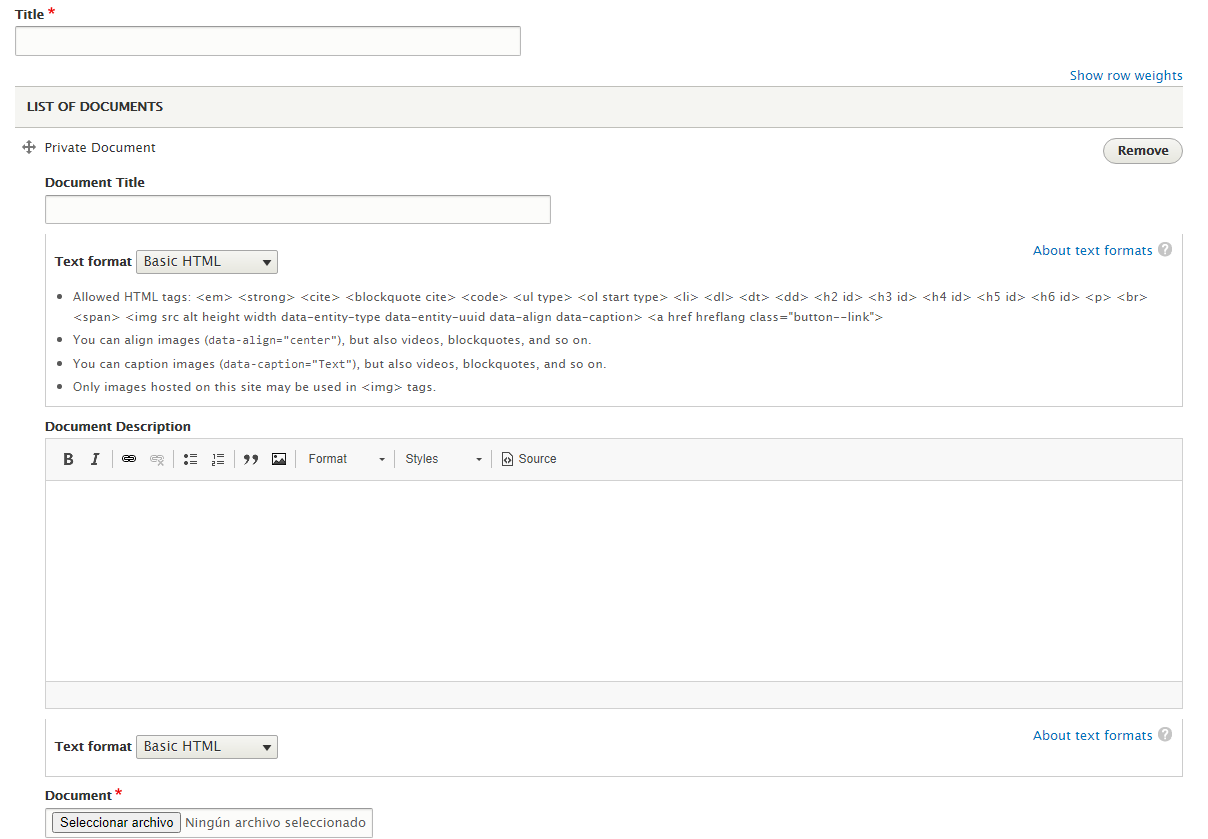

To add more documents click on the 'Add private document' button.
To reorder the documents 'Drag and Drop' to the desired position and click on the 'Save' button
Once the documents have been uploaded, it is possible to enter a description to each document. If a document has no description, the name of the file will be shown on the web.
Add new documents to an existing Category or edit a document
Go to Manage>Content and fylter by type 'Meetings and Documents' or by the title of the page.

Find the Category you want to edit and click on the 'Edit' button.

Upload a new document an click on the 'Save' button.
To remove a document click on the 'Remove' button and then on the 'Save' button.